
External Payments can be imported to avoid lengthy data entry within Ordway. This use case covers importing payments processed outside of Ordway.
Import File Structure
The sample import file for Payments includes nested objects which are separated into individual sheets in Excel or separate files for csv. Nested Payment objects include:
- Invoice Payments
Important: When importing both Payments and Invoice Payments, you must provide the Payment ID to link the Payment to the Invoice Payment. The Payment ID provided in the Import file will be stored with the Payment details regardless if Document Numbering is set to auto-generate or require user entry.
Example Payments Tab

Example Payment Invoices Import Tab

Step 1: Build an Import File
Be sure to review Import Basics: Build an Import File article before proceeding.
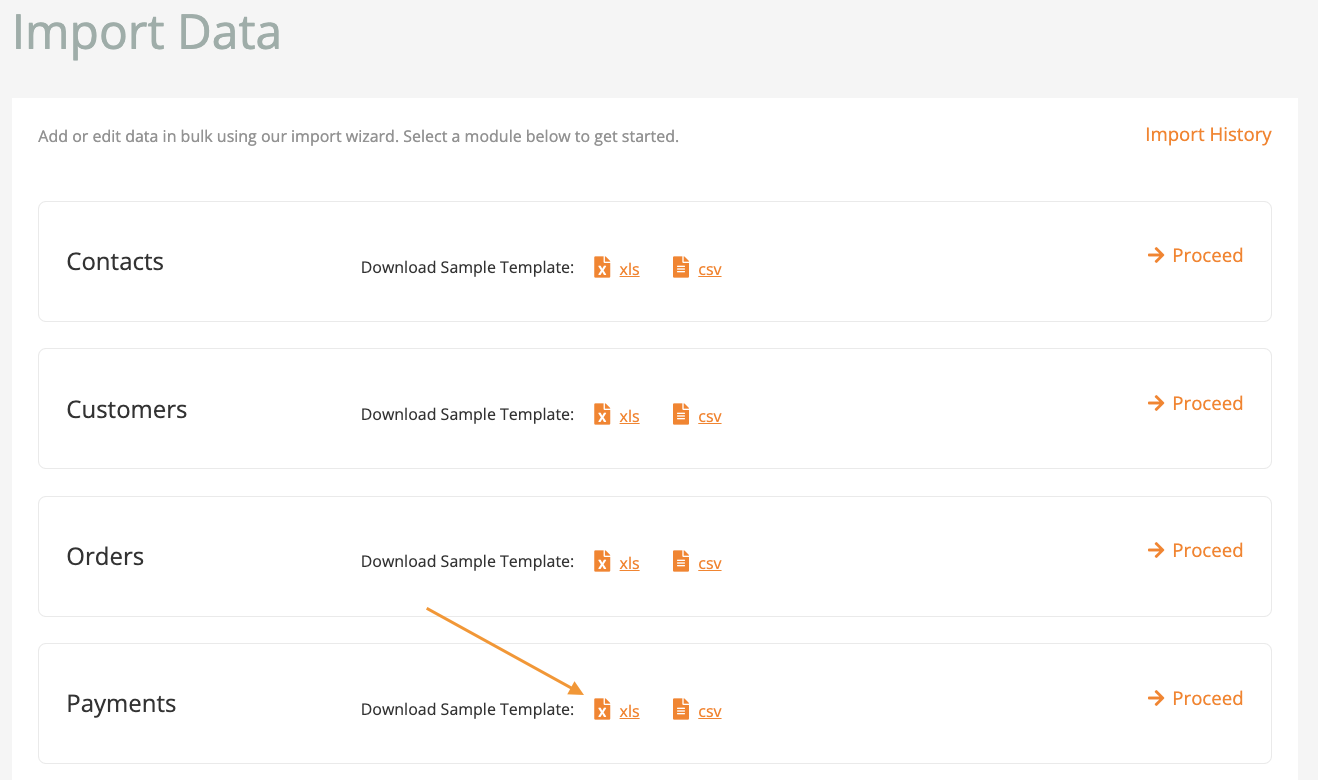
1. Within Ordway, navigate to Menu > Operations > Import Data.
2. Download the Payments Sample Template in the desired format; either .csv or .xls.
3. Populate the data. Reference required fields for Payment Imports.
This use case for importing new Payments includes:
Payments Tab:
- ID (temp ID as mentioned above)
- Customer ID
- Payment Date
- Status
- Amount
- Payment Type
- Payment Method
Invoice Payment Tab:
- ID (temp ID as mentioned above)
- Invoice ID
- Amount Applied
4. Save the file when finished.
Step 2: Import Data
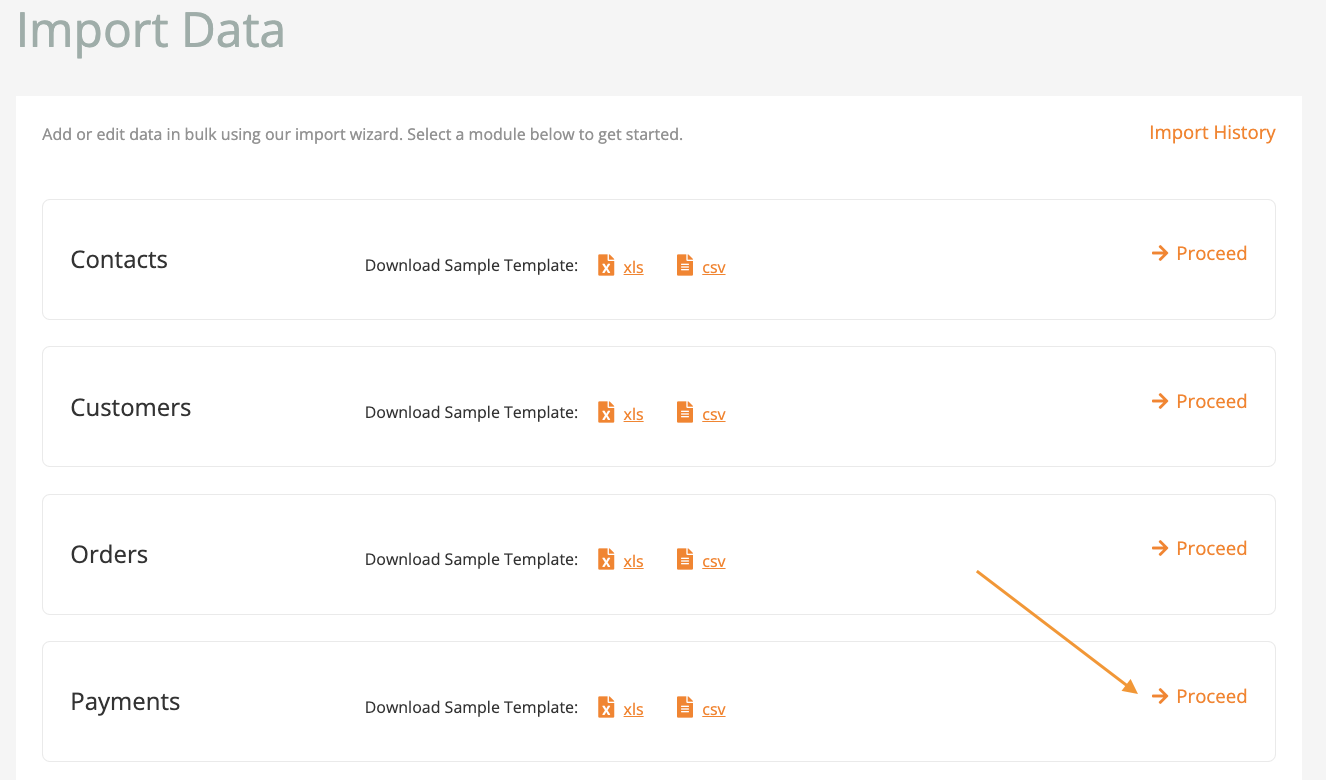
1. Within Ordway, navigate to Menu > Operations > Import Data.
2. Select Proceed next to Payments.
3. Click Select File to navigate to the exported Payment data from Step 1. Accepted file types include .csv, .xlsx, or .zip.
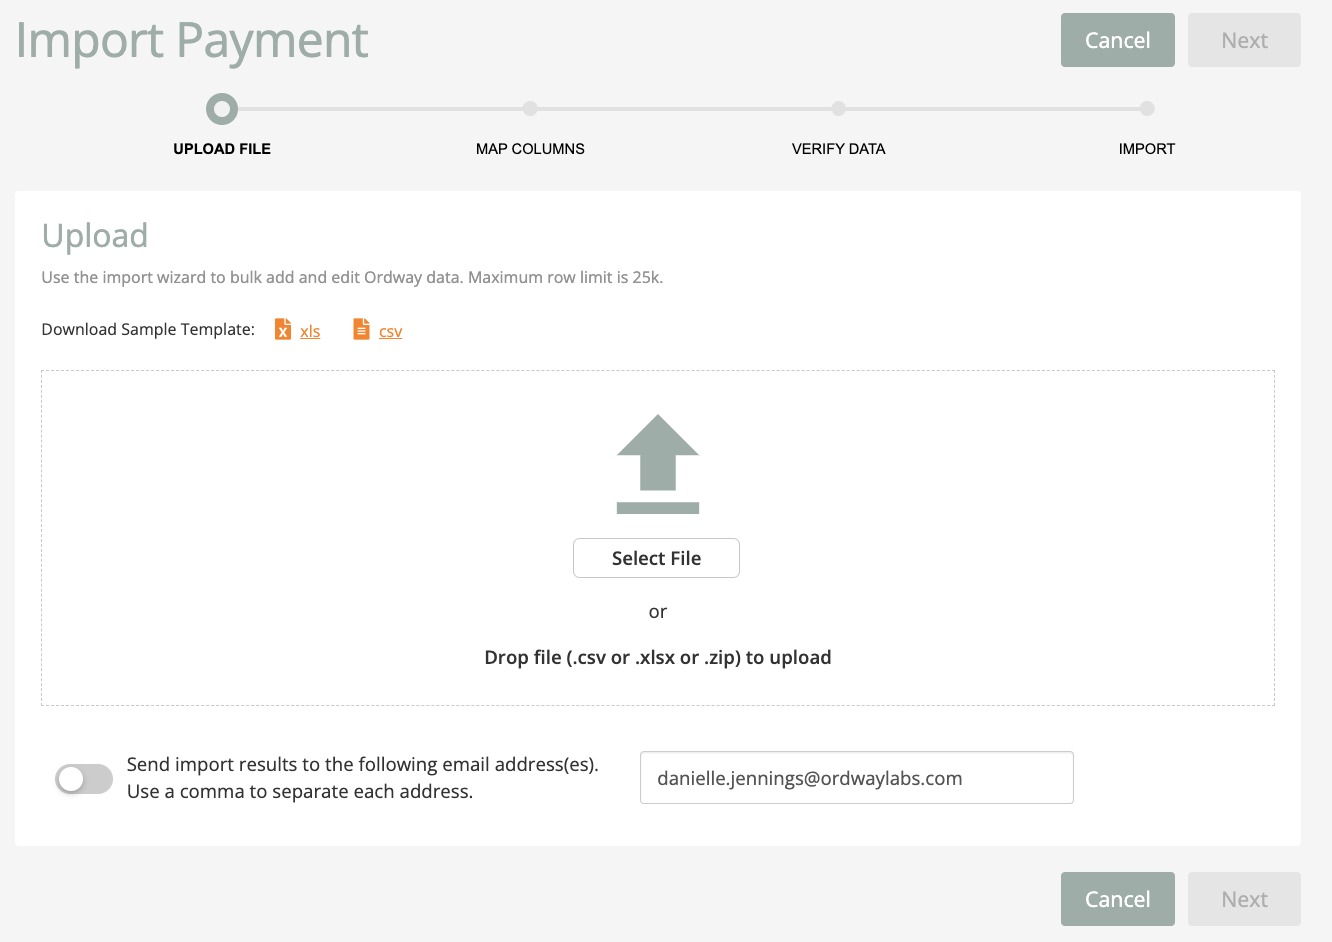
4. Optional: Send import results in an email.
Click the toggle next to ‘Send import results to the following email address(es). Use a comma to separate each address.’
5. Click Next to continue.
6. Verify the object data to be uploaded with the corresponding spreadsheet tab.
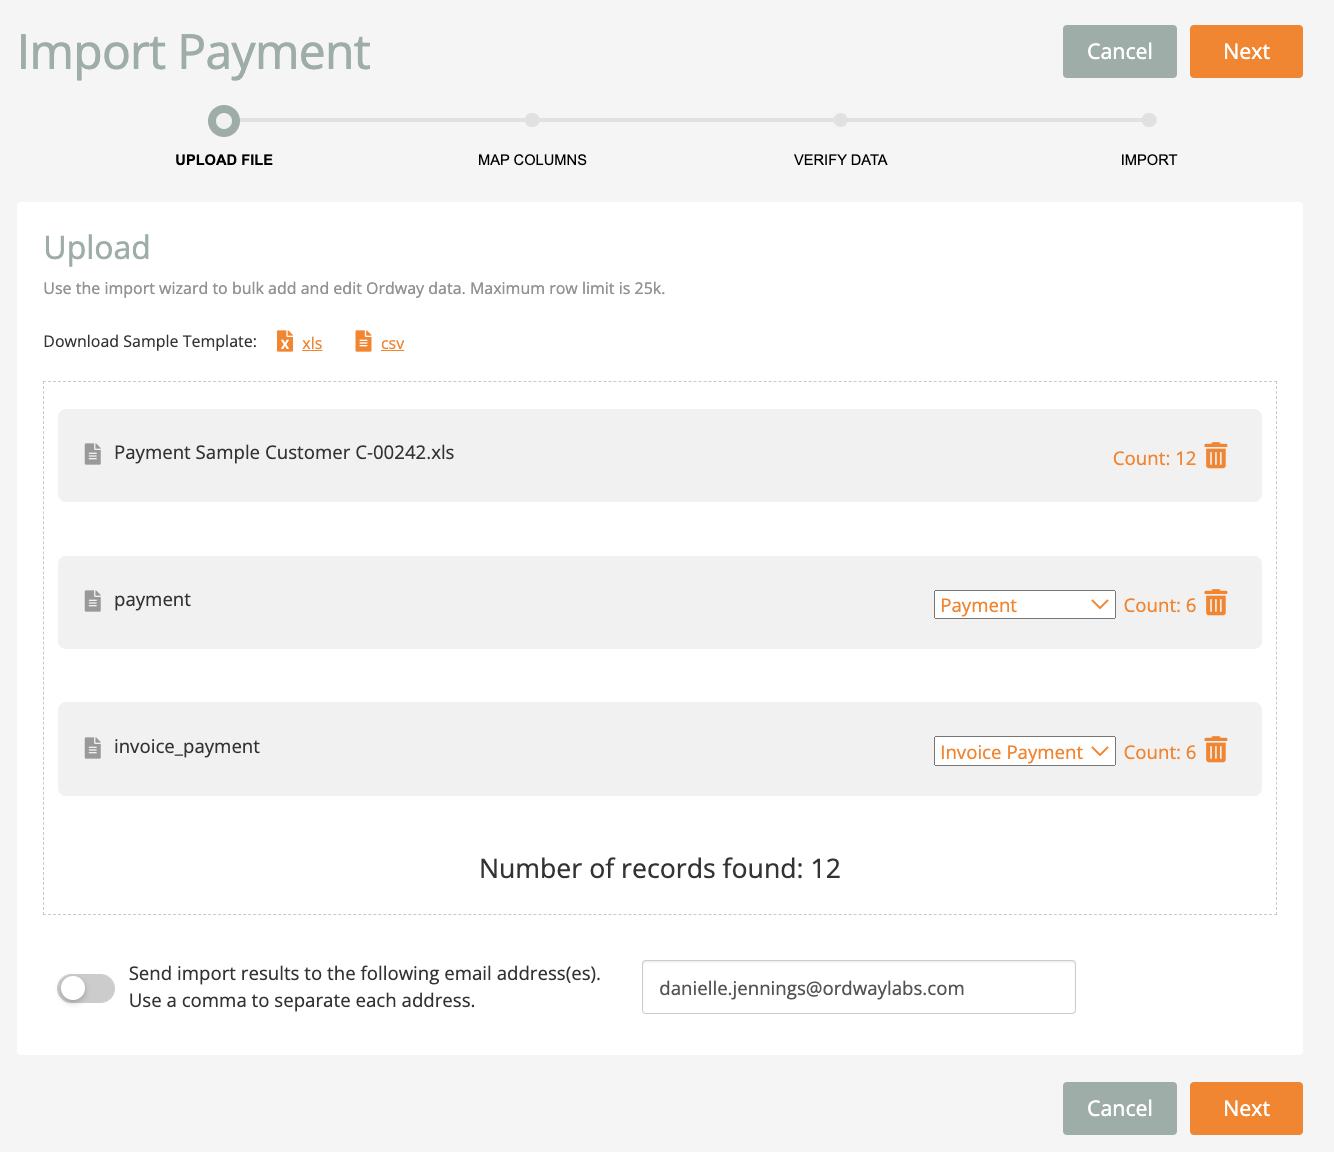
7. Click Next to continue.
8. Select the Date Format in the import file to match the Date Format field drop-down in the Import Wizard.
To edit or customize available mappings, read about how to Save Field Mappings.
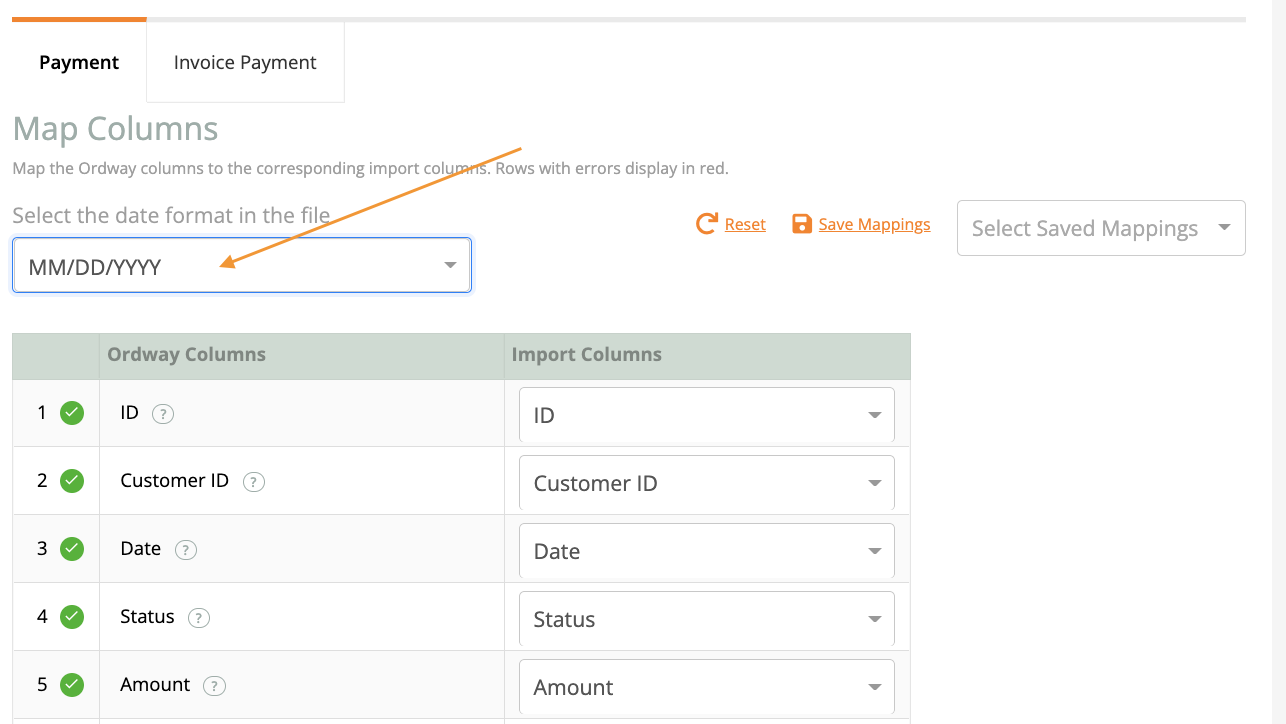
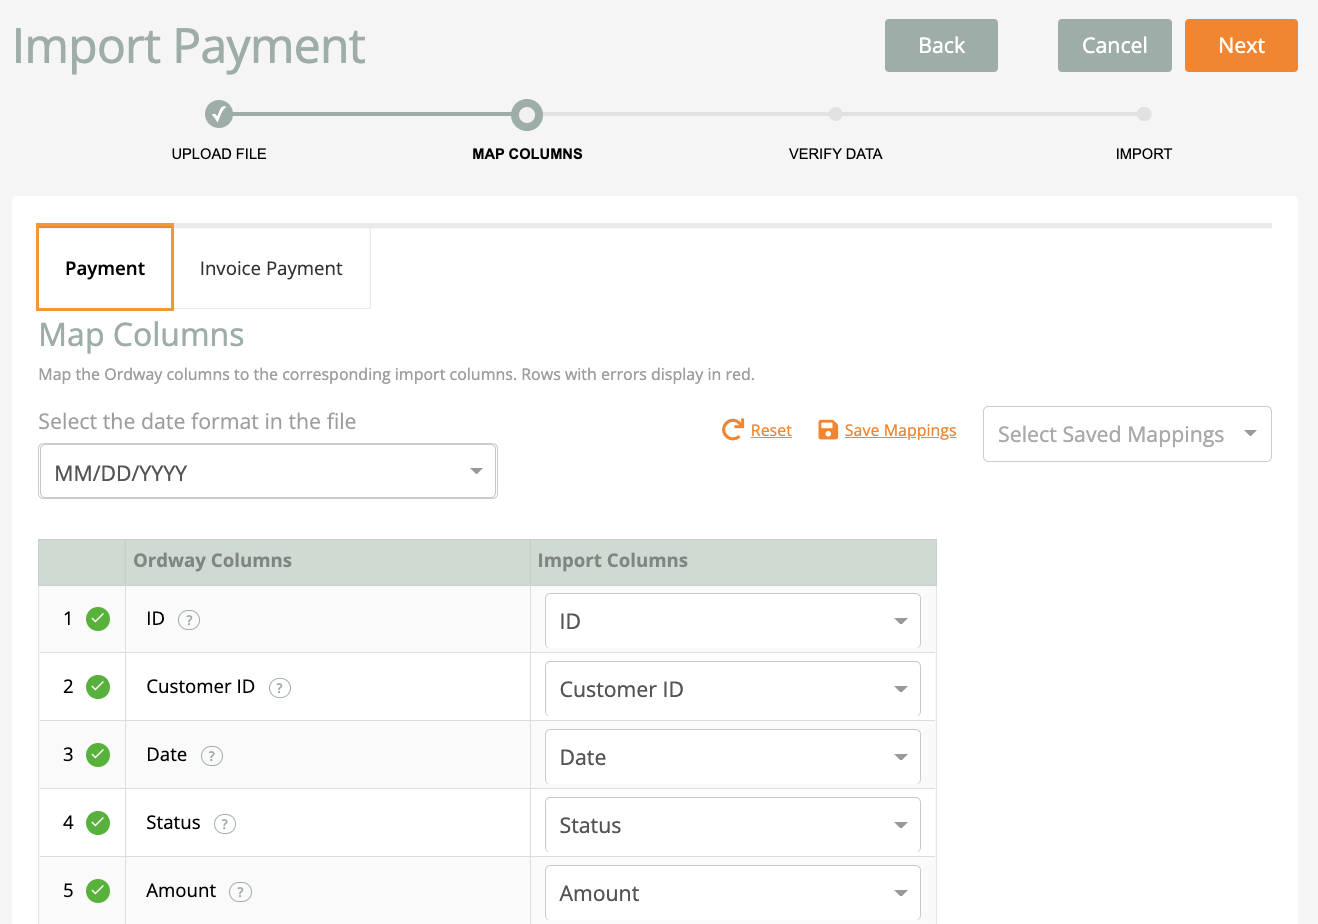
9. Verify all columns are correctly mapped on the Map Columns screen for each tab in the import file. Ordway automatically maps fields with the same name. Review all mappings to ensure they are correct.
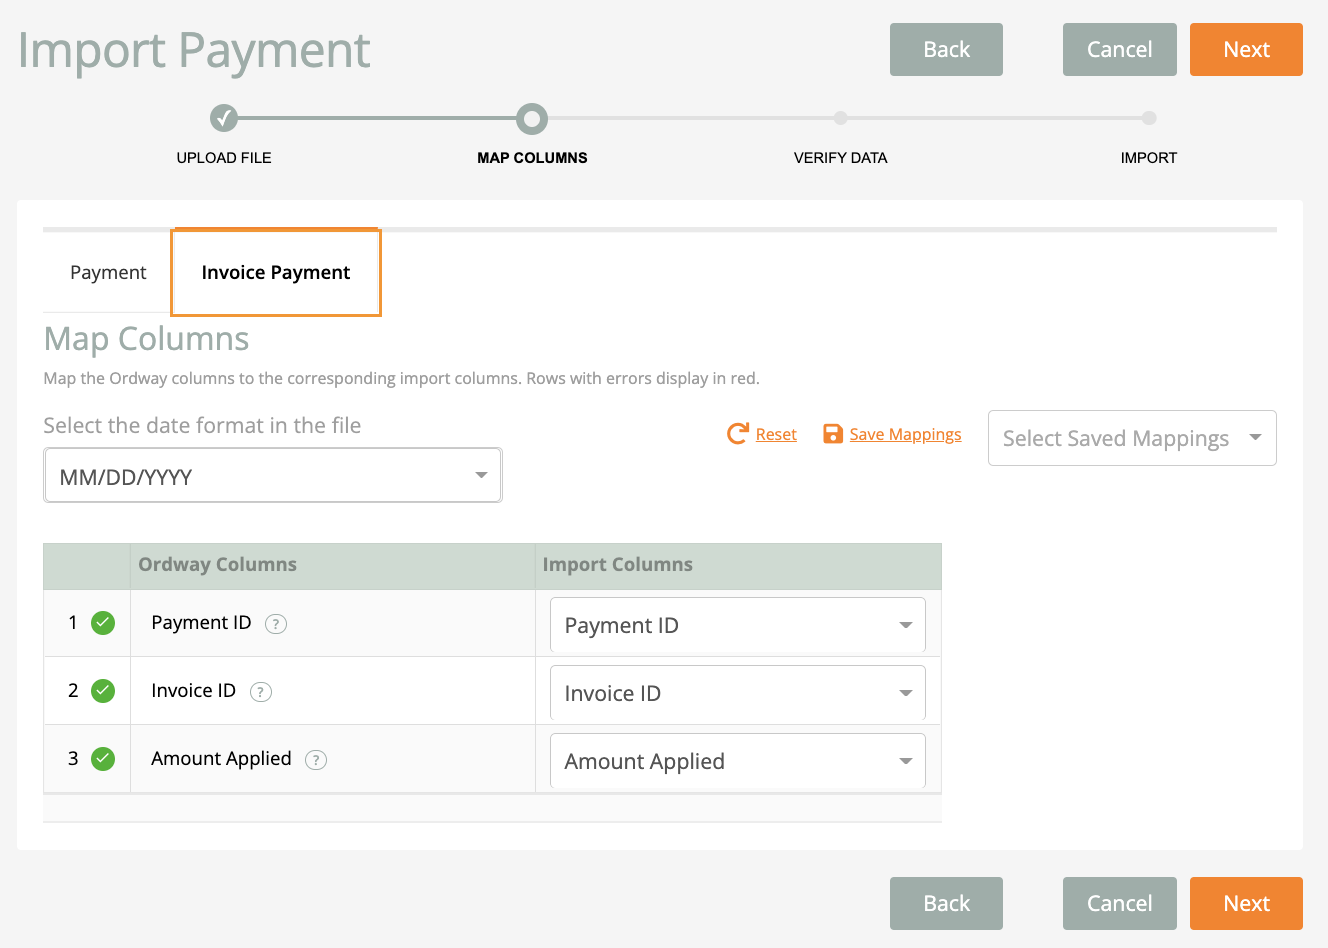
Note the separate tabs, each with their own mapping fields:
Payment Tab
Invoice Payment Tab
10. Click Next to Continue.
The screen displays the number of records found.
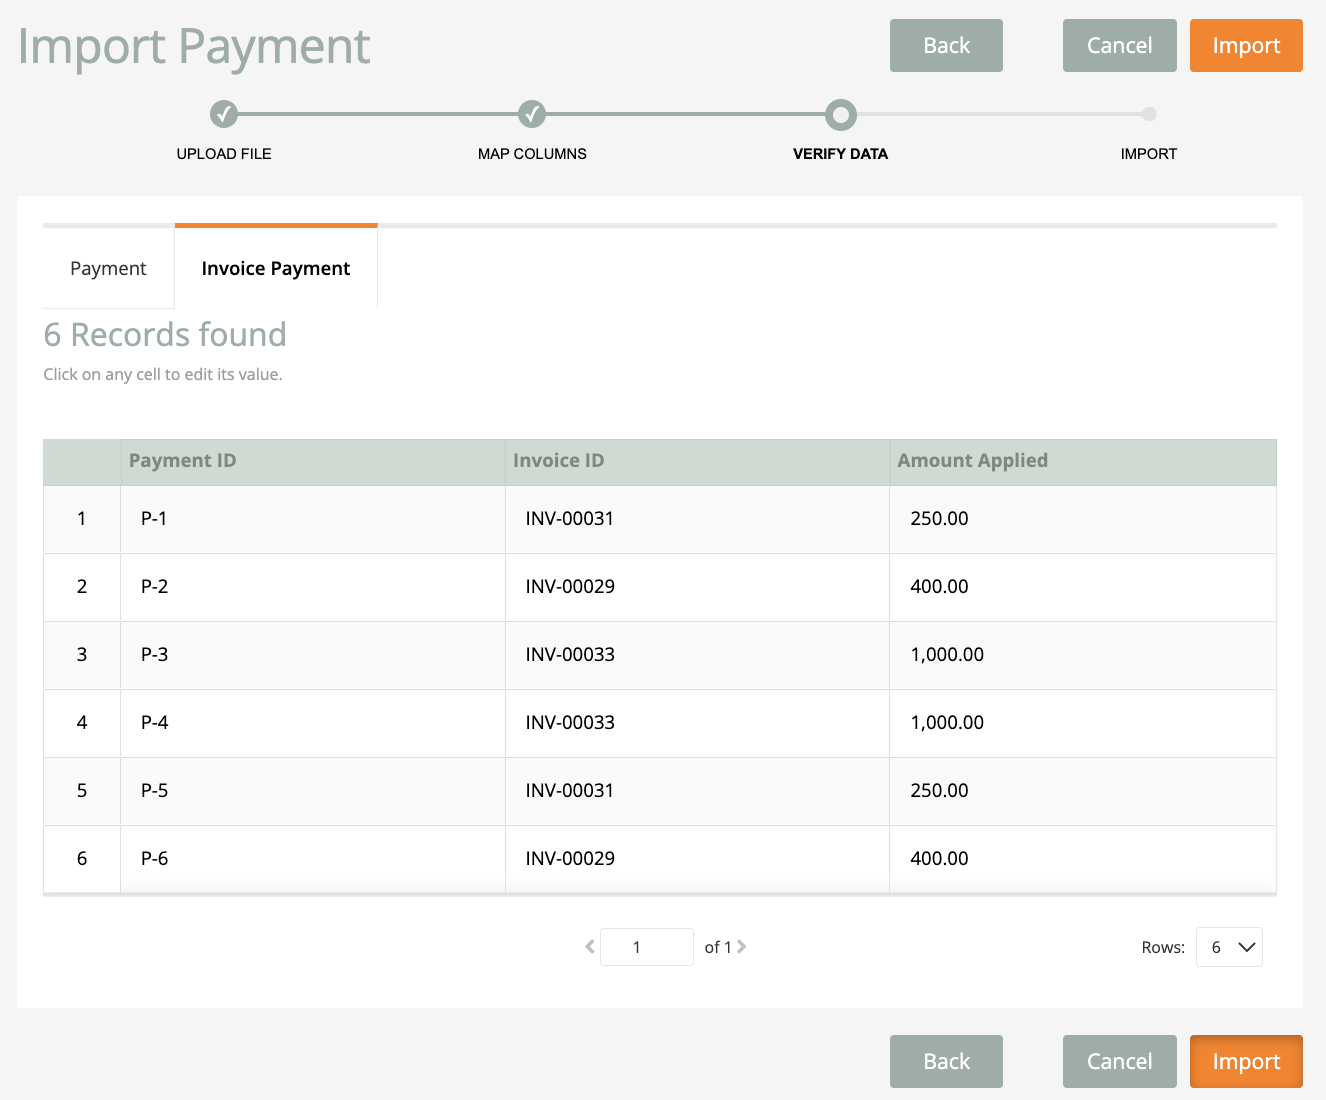
11. Click Import to continue.
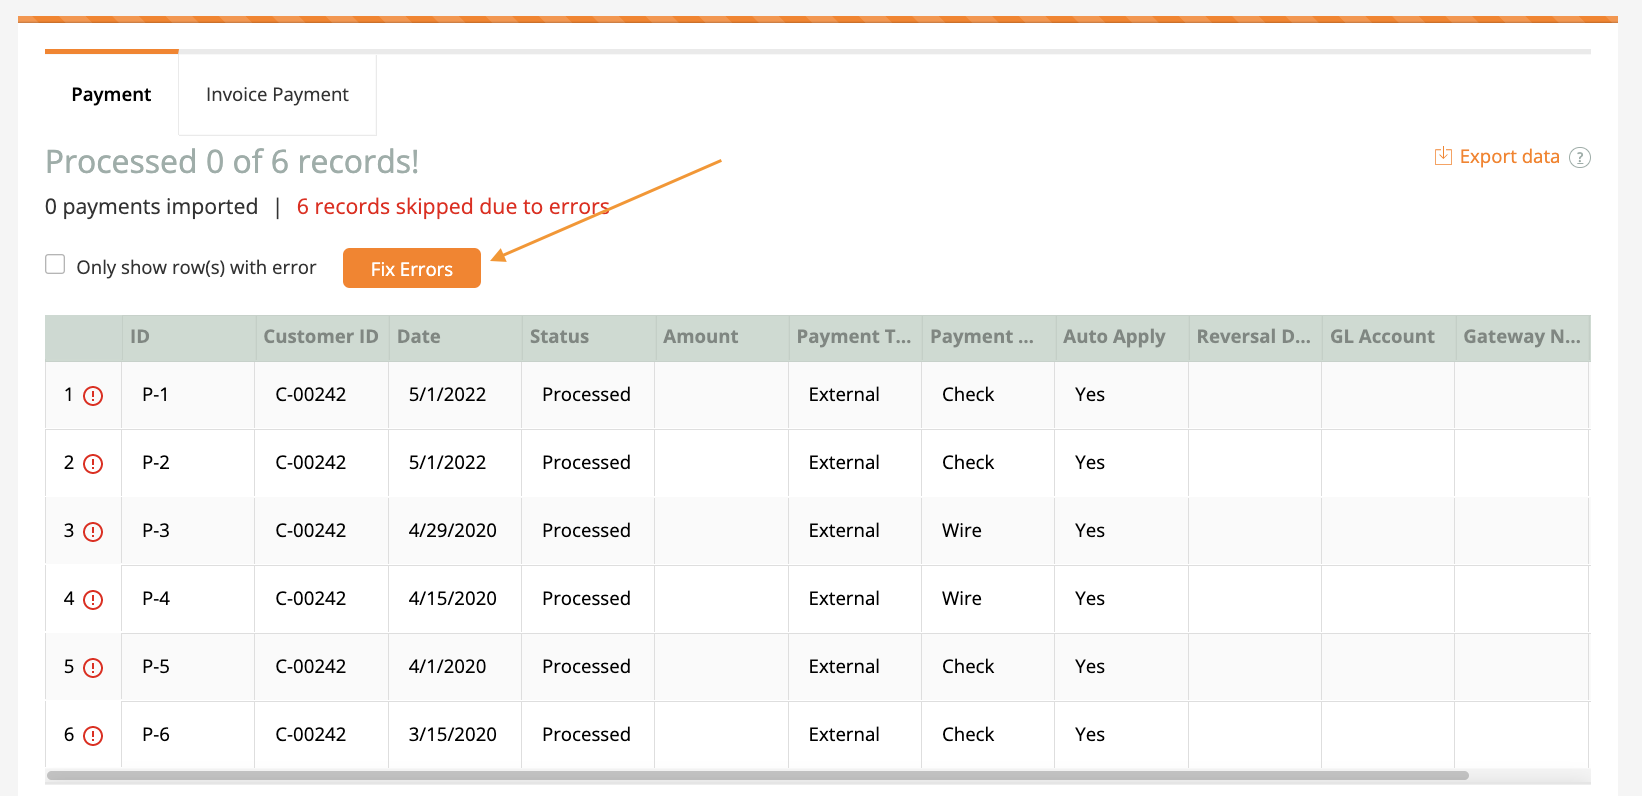
12. The screen displays the total number of rows processed per tab and any rows with errors. View failed record reasons by hovering over the error icon in red on the corresponding row.
Fix any errors by clicking Fix Errors, then click in the individual cell to edit the value.
Note: Be sure to check each tab included in the import and correct all errors.
Example error:
13. Once any errors are corrected, click Import.
14. Once the import completes, view the results including the number of records processed and records skipped due to errors.
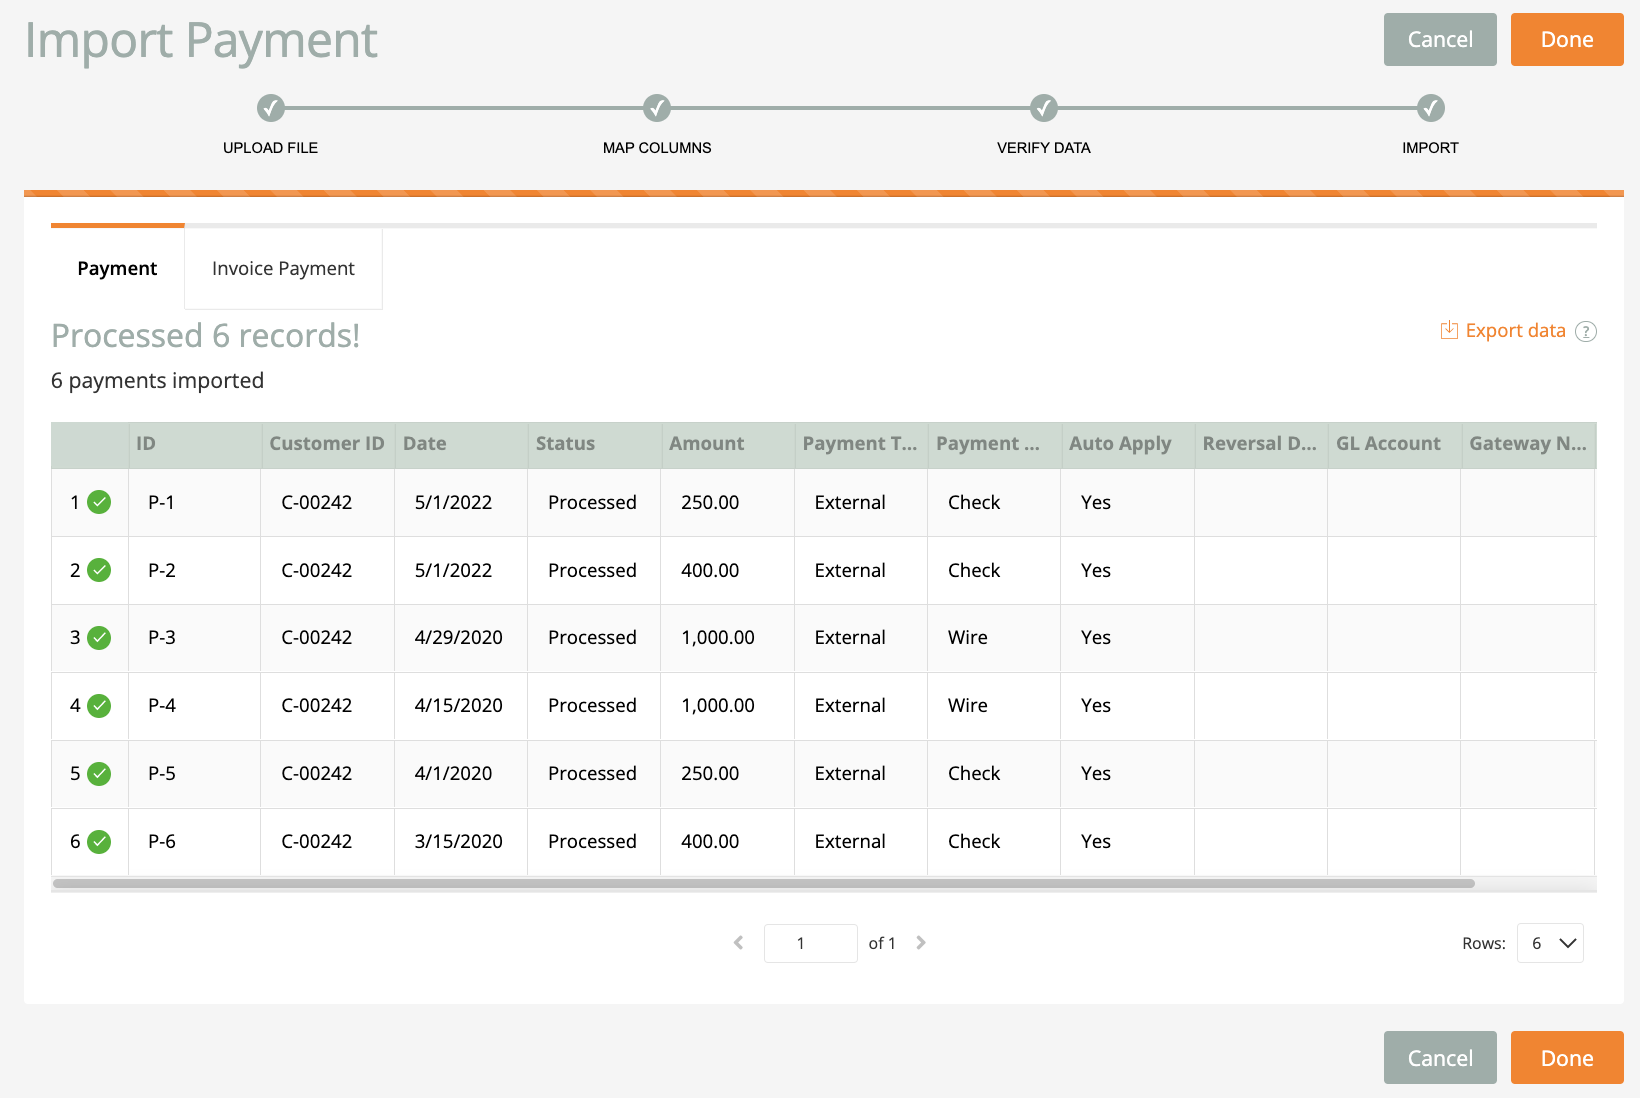
15. Click Done. You are automatically returned to the most recently visited page.
Comments
0 comments
Please sign in to leave a comment.